Imaginary Gyuto Series: Unveiling the Secrets of Blade Edge Finishing
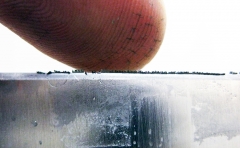
Since I don’t have a microscope or anything, I decided to create bigger burrs so that they can be seen with the naked eye! (laughs)
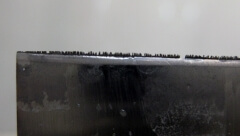
It may have ended up looking like “false eyelashes” gone overboard, but… If I can cleanly remove the burrs that came out straight, I’ll get an incredibly sharp blade!
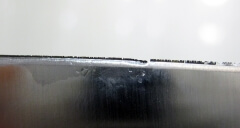
Even though you can see the burrs in the photo and imagine their size, I also approach burr removal with the same care for those tiny, nearly invisible ones. I “melt” away the burrs from both sides, ensuring not to tilt the edge at all. That’s the key to achieving a perfect edge!
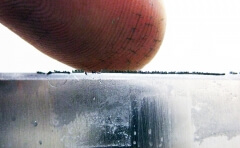
When I press on the burrs with my fingers, they easily crumble and fall away. However, if I don’t remove them with a whetstone, the edge ends up feeling uneven and not sharp. It doesn’t align perfectly. It’s like the edge isn’t standing up properly.
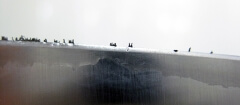
I sharpen both sides on the whetstone, focusing on removing the burrs only at the point where they meet the edge. The photo shows that I managed to remove burrs from several places, but there are still tiny burrs remaining in between. This is the usual burr that needs to be removed. Ideally, taking it slowly with the whetstone is best. If you find it a bit bothersome, you can easily remove them with a melamine sponge in one go!
(Note: A melamine sponge is a type of cleaning sponge that is known for its ability to remove stubborn stains and marks.)
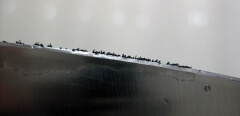
This is a demonstration of intentionally tilting the burrs. They are leaning towards the front side. Can you see it clearly?
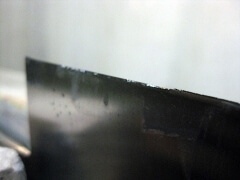
Once it’s in this position, I align the burrs as if I’m picking them up from the leaning side. In actual sharpening, since it’s not visible to the naked eye, I’m sharpening while thinking, “This might be how it is!”
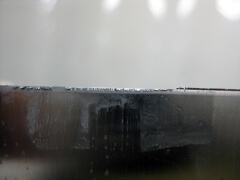
If you sharpen without picking up the burrs, they can sometimes coat and overlap the cutting edge, as confirmed by microscope data I received from a professor in the past. The photo is a deliberate attempt to reproduce this situation! Once it happens, you’ll need to use a medium grit whetstone or similar to completely remove them. If you continue sharpening with finishing stones, for example, the sharpening lines will get into the coated burrs. (Note: “Sharpening lines” here refer to the scratch patterns left on the blade surface during sharpening.)

I carefully imagine “bringing out and removing the burrs at the cutting edge” while sharpening on the whetstone, ensuring they don’t coat the edge. The whetstone in the photo is “Kitayama,” deliberately left with some clogging to reduce its abrasive power. This approach aims to prevent the formation of new burrs due to over-sharpening during the final fine-tuning process. As long as it sharpens the necessary parts, that’s all I need!
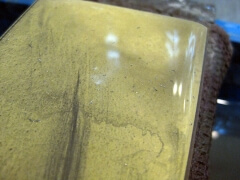
Here’s the image of the burrs that crumbled away. When I sharpen aggressively, the burrs come off in a block-like manner. On the other hand, sharpening smoothly results in thread-like burrs. (I believe it may vary depending on the type of steel and whetstone used.)
I aim for a fine arrangement of jagged saw-like edges, as shown in the first photo. The knife used here is the Suisin SP-Inox. To create clear burr lines, I use electroplated diamond #300. (After #300, I used a medium finishing stone to align the burrs before taking the photo.) Please imagine the sharpening direction based on the direction of the burrs.
After that, I moved on to Kitayama #8000 for burr removal. The blade has a smooth finish of #8000, but you can still feel the presence of #300 in the sharpness. By the way, the knife cuts through newspaper silently and smoothly.
Though I didn’t try it with this knife (using the current whetstone setting), a similar technique works well while cutting ingredients. Once you decide to cut, it glides effortlessly through the food. Focusing solely on aligning the burrs, you can also include medium grit stones or medium finishing in between. With each change of whetstone, I believe meticulous sharpening will yield excellent results.
(Note: The burrs shown in the photos are deliberately exaggerated for demonstration purposes. In actual sharpening, creating the same level of burrs each time may wear down the knife quickly, so please be cautious. Instead, use the photos as a reference to imagine the process.)
hibishugyo
- 2013-10-28


